Using the "Track Changes" tool in Microsoft Word
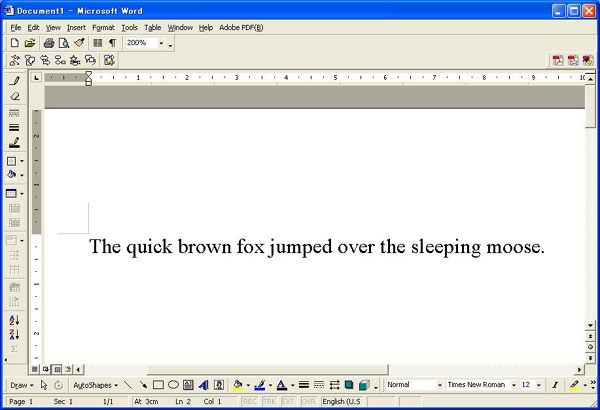
Many of our editors and readers prefer using the "Track Changes" tool, so allow me a brief introduction. Suppose we are checking the following rather brief article about animal movement.
We then decide that instead of foxes we'd like this to talk about bears, so let's change fox to bear.
First, to to the TOOLS menu, then TRACK CHANGES, then HIGHLIGHT CHANGES
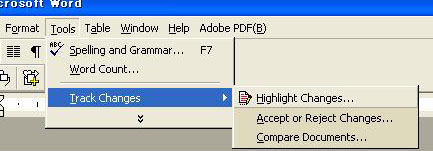
Click on HIGHLIGHT CHANGES and you'll see the following window...
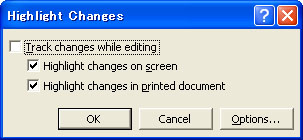
Click the top box to track changes while editing, then click OK.
Thereafter in your document, any changes will be highlighted like in the following. The deletion (fox) is in blue, and the additions (bear) is in red.
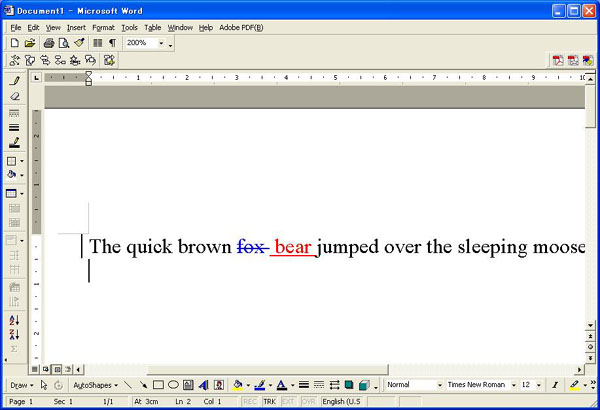
Notice that any lines that have changes are marked by a vertical line in the left margin.
Next, when all your corrections are finished, save your file and send it to the happy author.
The author will then open the file and check the suggested changes...
First, right-click any change (in this case, the deleted "fox"), and you'll see the following menu:
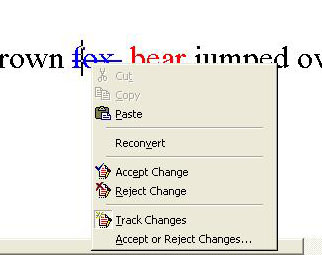
Cleverly, to accept the change, click on "Accept Change" and... I bet you can handle it. Just continue with all the suggested changes, and when you are finished save your masterpiece (with an appropriate file name).
Happy editing!